
Buyer’s market or seller’s market, eye-catching professional photos are essential for drawing potential buyers to your house. Professional real estate photography may dramatically alter how people view your property and help it stand out. Proper planning is essential if you want your home to look its best in photos. Continue reading for the necessary procedures to prepare your home for professional photos.
1. Declutter and Depersonalize
You don’t want to draw potential buyers’ eyes to unnecessary distractions in your professional photos. In a clutter-free setting, they can concentrate on your home’s distinctive characteristics! Clear each room completely of clutter and mess:
- Remove personal items: Hide personal photos, trinkets, and unnecessary decorations.
- Clear surfaces: remove clutter from counters, tables, and shelves to give them a clear and spacious appearance.
- Organize and clean out the closets, cabinets, and other storage areas OR in a time crunch, leave these doors closed and ask the photographer to not photograph these areas.
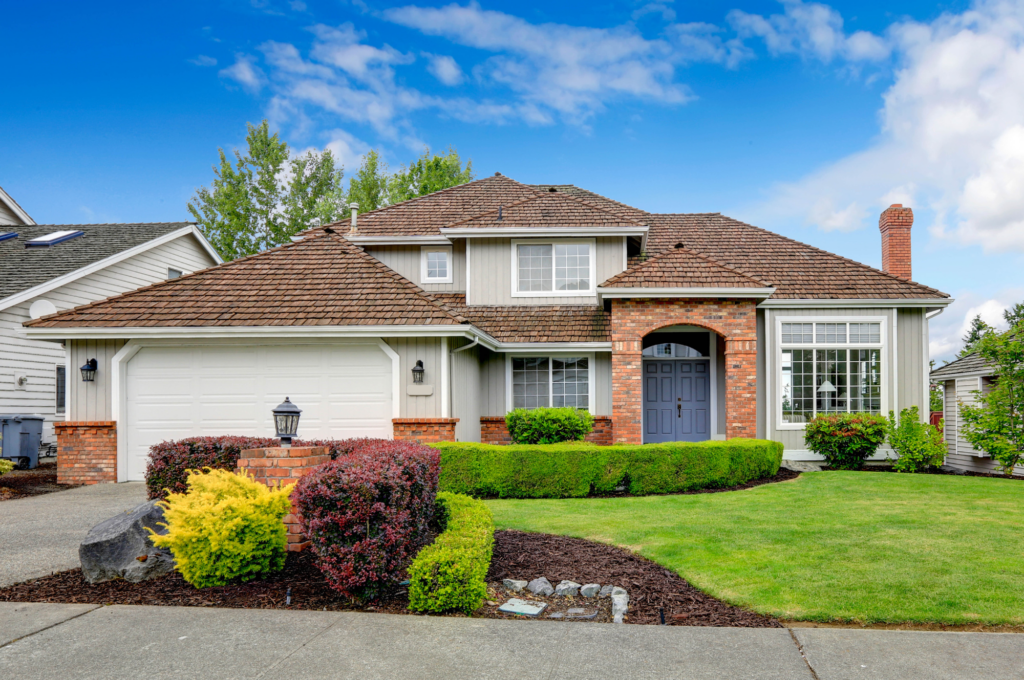
2. Boost Curb Appeal
Typically, the first photo potential buyers will see is of the front of the house. This sets the tone for the whole rest of the photo set. How to improve curb appeal:
- Gardening: For a lively appearance, trim the bushes, mow the lawn, and add new mulch or flowers.
- Power wash the siding, clean the windows, and touch up paint as necessary.
- Front entrance: Set up a new doormat and think about including a wreath or a potted plant.
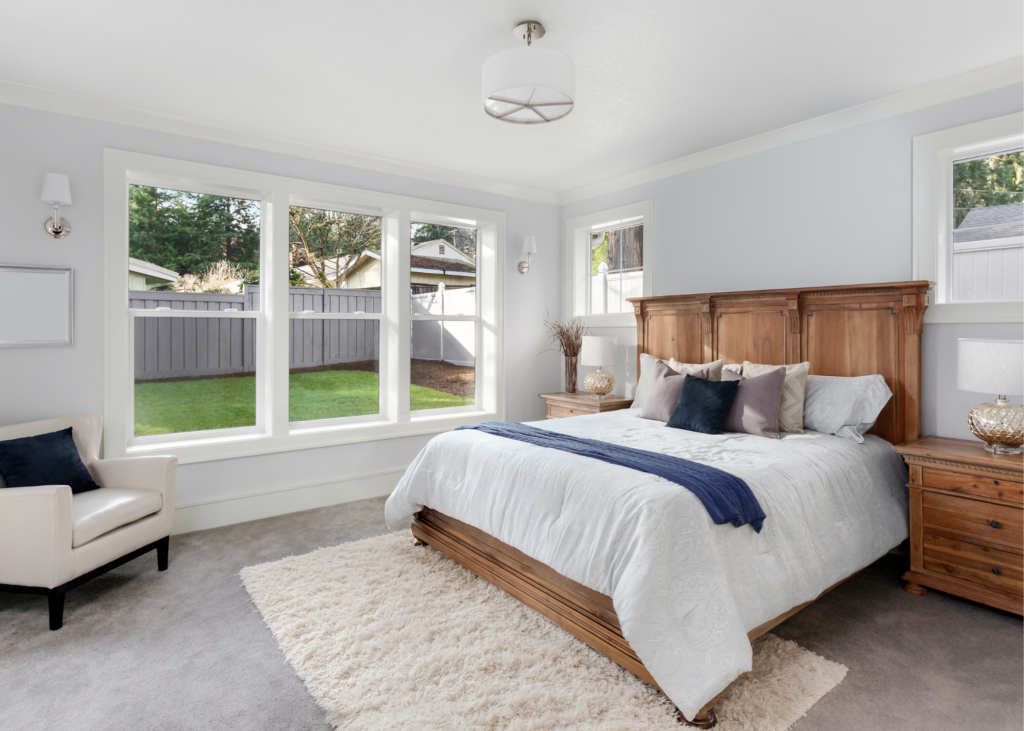
3. Improve Lighting
Your photos’ quality can be significantly increased with the use of proper lighting. Maximize the use of daylight:
- Open blinds and drapes to allow natural light to enter rooms.
- Replace any burned-out or inconsistently colored bulbs in all light fixtures.
- Turn on all lights, but turn OFF ceiling fans before photographer arrives.
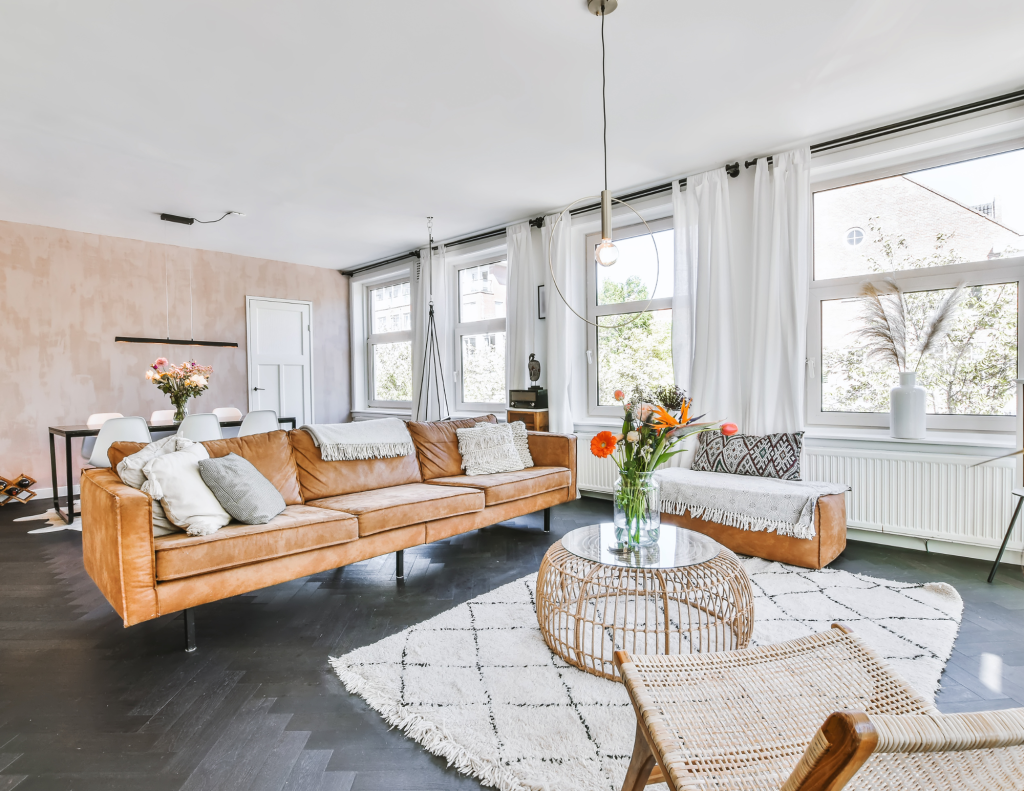
4. Staging and furniture placement
Staging your home carefully can help purchasers picture themselves living there. Consider these suggestions:
- Arrangement of furniture: Arrange furniture to highlight the layout of each area and to foster a welcoming ambiance.
- Neutral décor: To appeal to a wider group of customers, choose neutral hues and décor.
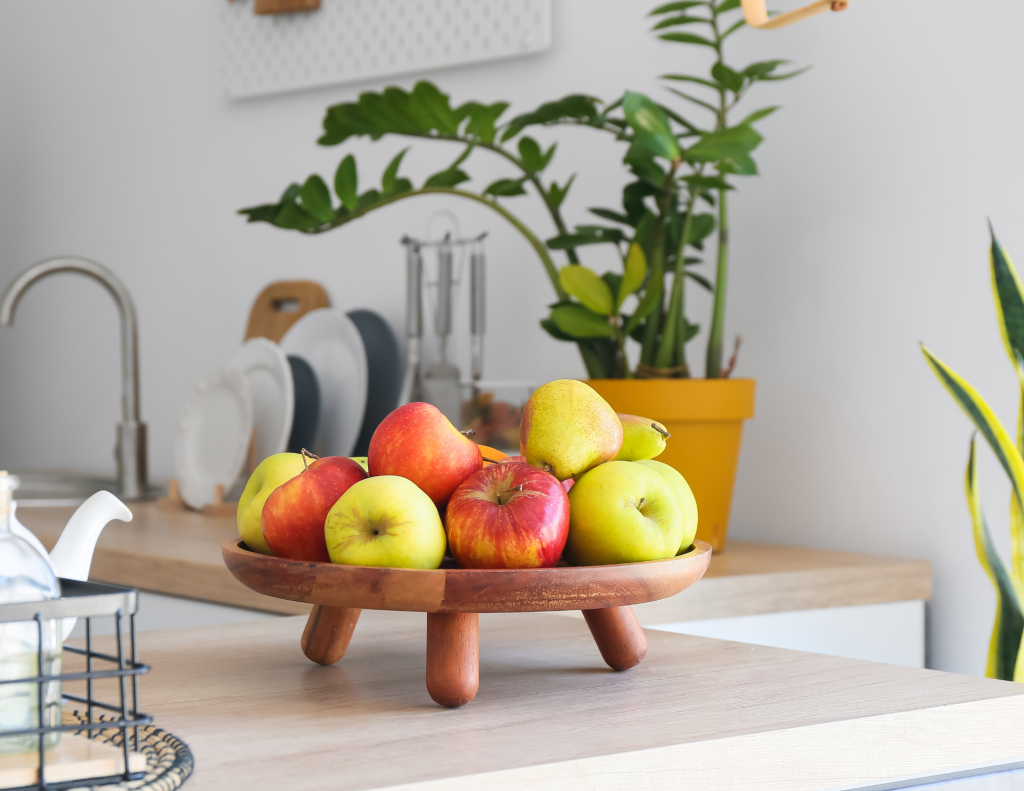
- Add new components: Include vibrant elements like fresh flowers, throw pillows, or a fruit tray.
5. Highlight Key Elements
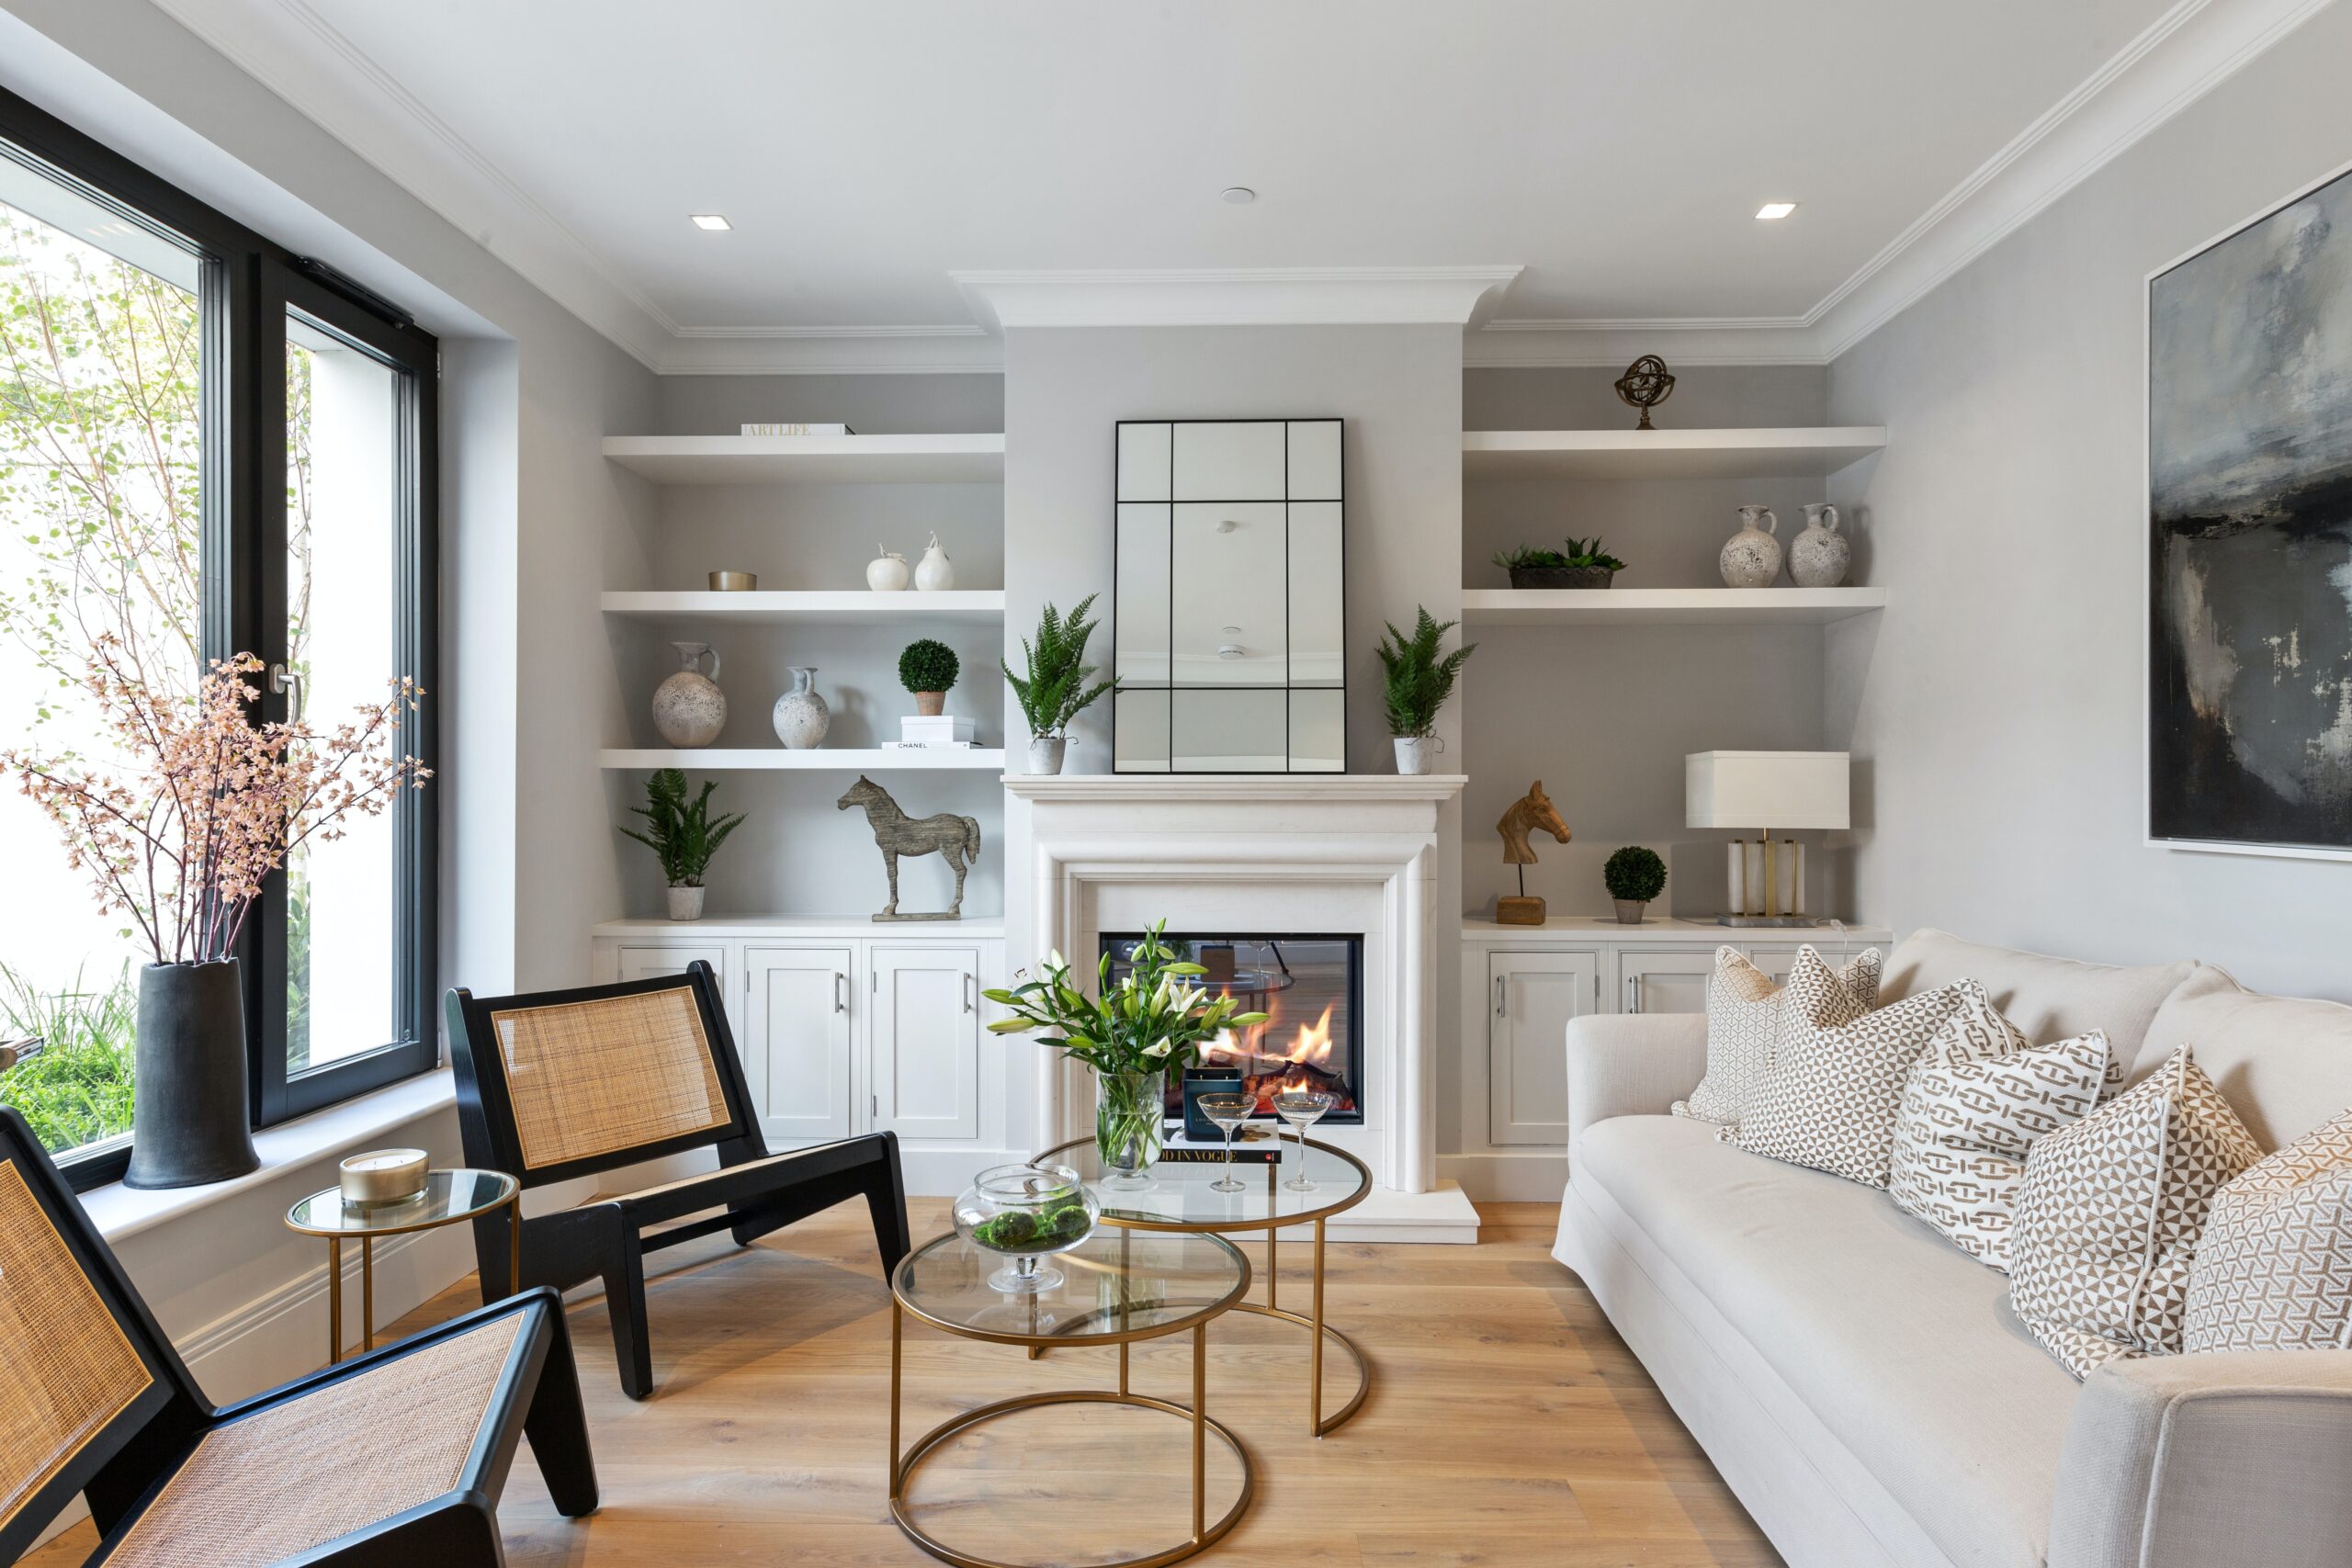
Accentuate your home’s distinctive and appealing qualities to capture its essence:
- Showcase architectural features like fireplaces, built-in shelving, or distinctive moldings.
- Highlight patios, decks, and outside gathering areas to show off extra living space.
- Remember you can always ask your photographer or Real Estate Agent to make sure certain areas are highlighted in the photos/videos.

6. Pet Preparation
Take extra care to limit the presence of your pets during the photo shoot if you have any:
- Pet supplies: Keep litter bins, toys, and dishes hidden.
- Make sure your pet is temporarily relocated or in a crate so it doesn’t sneak into any photos.
It may take a little extra planning and time to prepare your home for professional photos, but the payoff is worth it. By taking the recommended actions, you’ll set up a setting that presents your property in the best possible way, luring potential buyers and making a good first impression. Keep in mind that the time and attention you put into preparing your home can have a big impact on how you connect with potential buyers.
Having an experienced real estate agent on your side while preparing your home is also imperative in maximizing your investment on your home! Reach out to us today and we can get you in touch with the right Realtor for you.